Zoo Scavenger Hunt Books

We recently visited the San Diego Zoo with my sister and her boy. The zoo is large and there is no shortage of fun and interesting things to do and see. My mom suggested a great way to sneak in some learning while we were there, via a scavenger hunt.

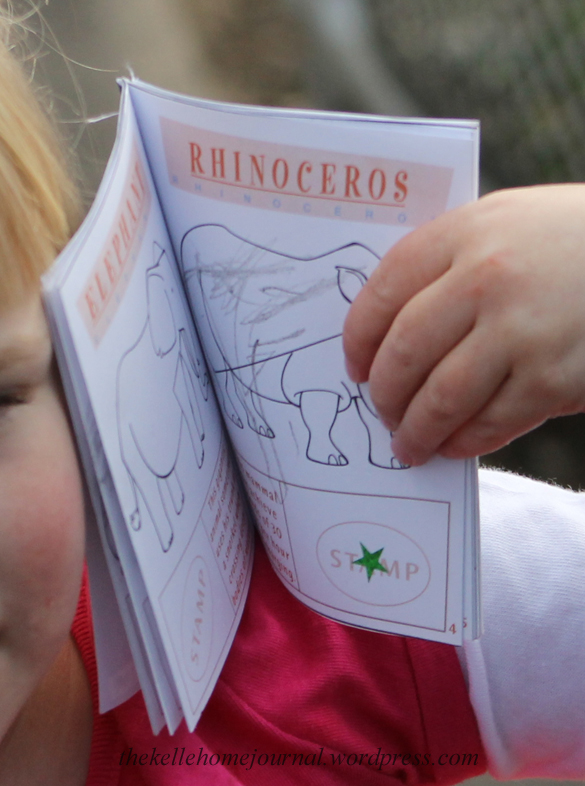
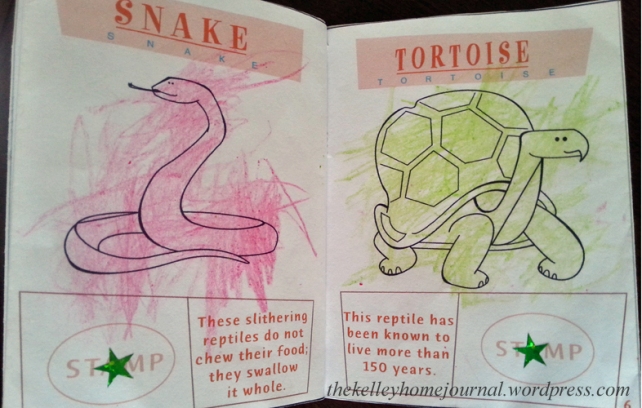
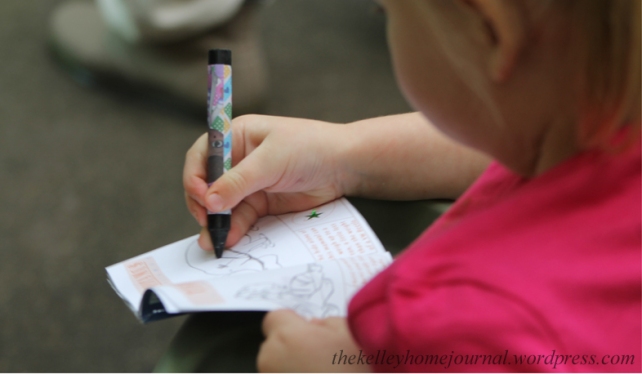
I knew immediately my daughter and nephew would love this! A quick search yielded many great ideas for zoo themed scavenger hunts. I decided to go with this very cute passport style book from Disney Family. It was small enough to fit in our packs and easy for the little ones to hold on to in their strollers. I brought along a small bag with crayons  and star stickers to “stamp” each page as they completed it.

Zoo Scavenger Hunt

Zoo Scavenger Hunt

Zoo Scavenger Hunt

This little game turned out to be a bigger hit than any of us adults expected! Both kids were interested in their books the whole day and ended up finding every animal. They loved earning a star after each successful find and my daughter was excited to color in each animal as well. The coloring also provided a  little something to do during the walks between areas. When we got home the kids were proud to show Grandma their completed books and found out they had earned a prize for all of their efforts. Thanks Grandma! 🙂

This is such a simple way to reinforce sight words, animal recognition and working towards a goal…all while having a great day at the zoo. I know I will be making more of these for another visit. I’m planning on designing one specifically for the Safari Park with animals I know are there. I also told my sister I would put together one for Sea World for my nephew, since they have a season pass and go frequently. I’m sure he would love a sea creature scavenger hunt! I guess I better get busy, I have a lot of crafting to do!
A Few of Our Fall Activities

We don’t really get going full swing into autumn here in Southern California until around the end of October.  September is usually quite hot where we live and it’s hard to feel the full spirit of the season when it’s still pool weather. I love autumn, though, and couldn’t resist doing some crafting and cooking.  Now that the weather is finally getting crisp and cool, I’m really getting that cozy happy feeling!

We have made several projects as well as a few trips to our favorite orchards and farms and I thought I would share a few of our fun fall activities.

Nature Walk and Fall Nature Jar Activity

My daughter and I love taking nature walks together. I am trying to encourage a love of nature, gardening, plants and animals, etc. and I don’t have to try very hard. She is interested in learning about anything and everything when we go on our walks or to a farm. For this, I am very thankful. I’m thrilled to see her curious about and excited by little things like leaves and snails.

Fall Jar Craft

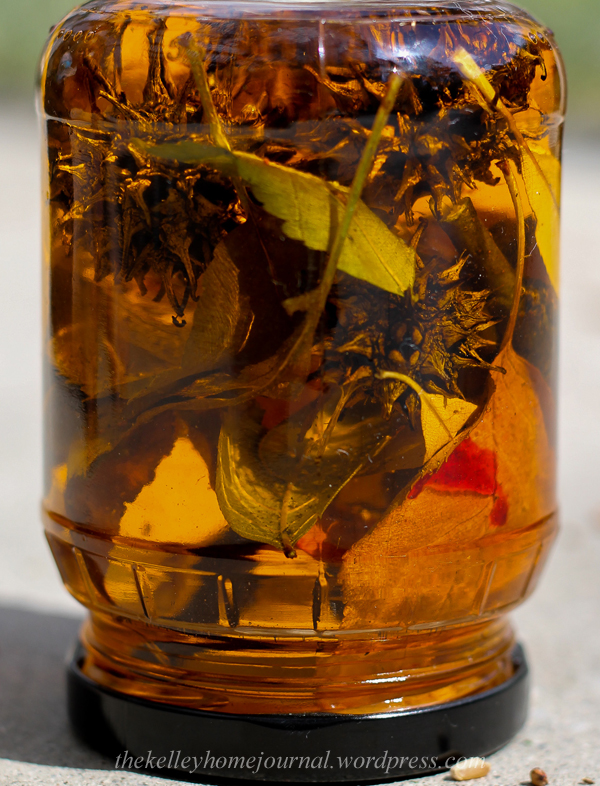
On one of our walks we decided to bring along a bag and collect a few “nature bits.” I found a lovely idea for Fall Sensory Jars and knew this would be a great project for us to try.  I used super glue to seal the lid for some extra spill protection.  I took my photo with the jar upended for aesthetics, but I would recommend displaying right side up for further spill protection! 🙂

Apple Picking

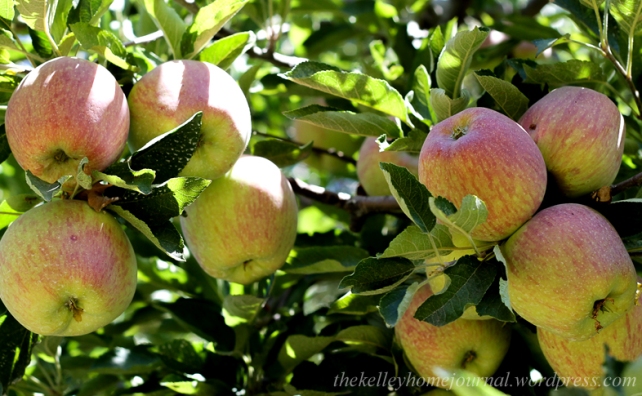
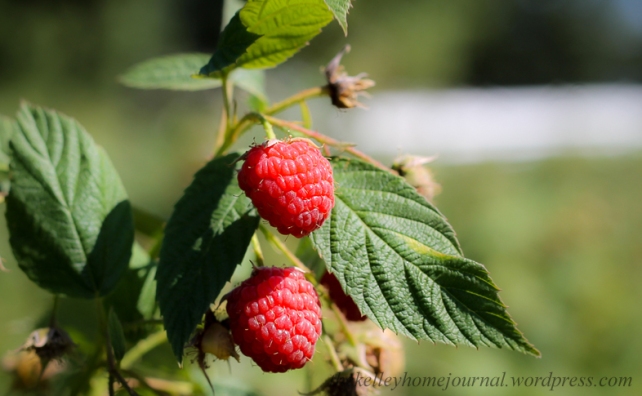
One of our favorite places to visit in the fall is Oak Glen. Going up to the mountains to pick apples means autumn! We spent the day with friends and took in all of the delights this wonderful little town has to offer, including raspberry picking,  the best apple cider in the whole wide world and the always wonderful Riley’s Farm.

Oak Glen Apples

Oak Glen Raspberries

Riley's Farm

Riley’s Farm

Tin Can Jack O’Lanterns

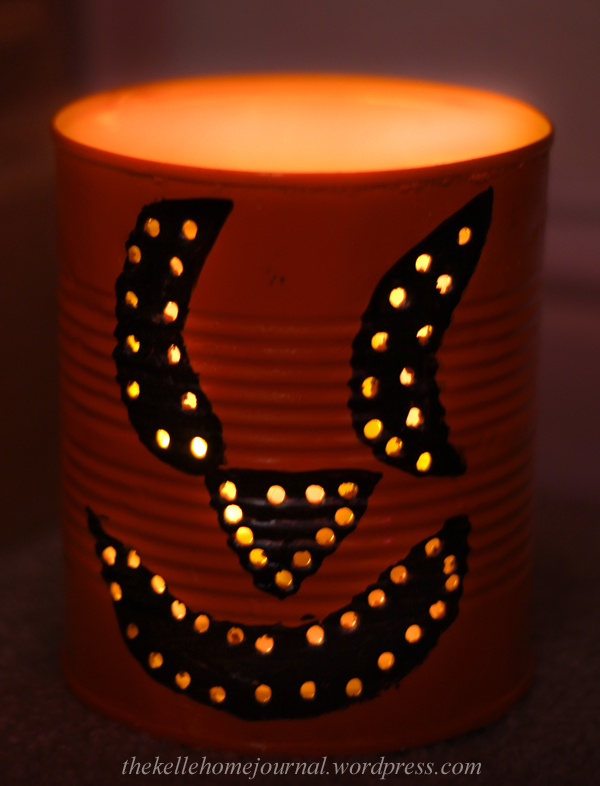
One of my favorite crafts we made are the jack o’ lanterns (appropriately) from reused pumpkin puree cans. The step-by-step tutorial can be found here. The results of the project are so very cute and it’s satisfying to gaze upon the little glowing faces at night. This craft is a job for mom or dad! Punching the holes is WORK! I tried drilling and hand hammering them into the can and both were equally laborious. Also, make sure to hammer down the sharp edge of your can lid to avoid painful mishaps. This project can be as cheap or as costly as you want to make it. I used leftover paint and bought battery operated tea lights at my local dollar store (2 for $1) for each lantern. It’s definitely a worthwhile project, just not one to do with little kids…BUT, they can enjoy the fruits of your labor as they gaze upon the pretty glowing faces and marvel at Mama’s creative skills! Right?

Jack O' Lantern Cans

Pumpkin Patch

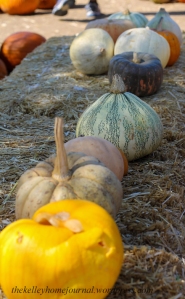
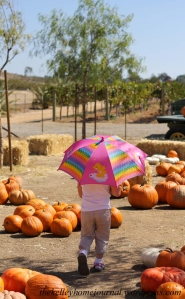
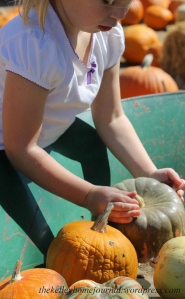
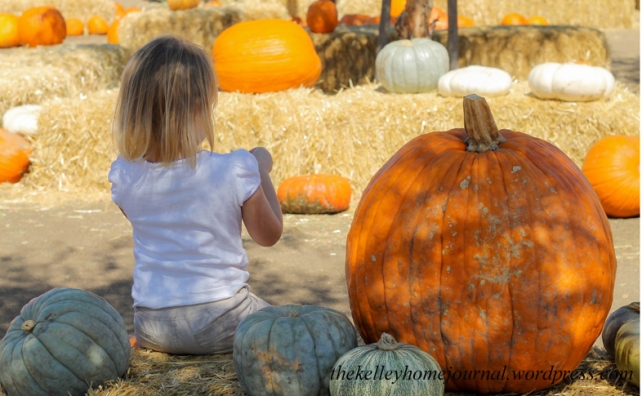
Autumn fun and activities wouldn’t be complete with out a trip to the pumpkin patch! We have a few farms nearby that have annual pumpkin picking and other delights for the fall season. We usually visit one or all of them. I have to admit, my fun is photographing my beautiful daughter’s enjoyment among all of the gorgeous pumpkins, colors and scenery of the farms.

Pumpkin Patch          Pumpkin Patch           Pumpkin Patch

Pumpkin Patch

I hope that all of you enjoy the season and the beauty it has to offer!

All About Bugs Week: Picnic With the Ants

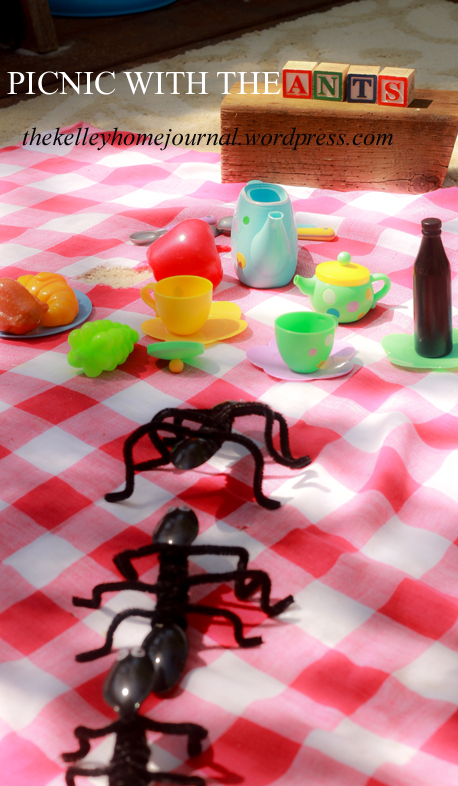
Ants Picnic

This is part 2 of the  All About Bugs Week at our homeschool.

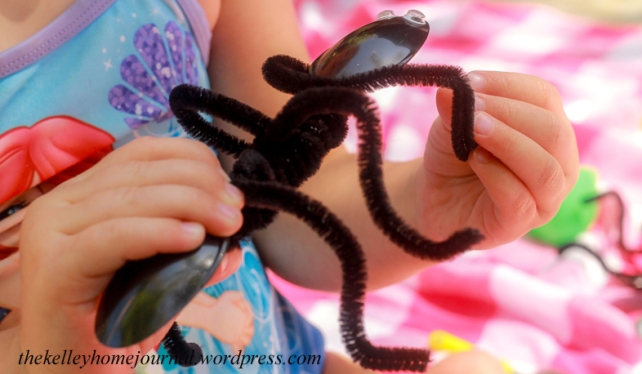
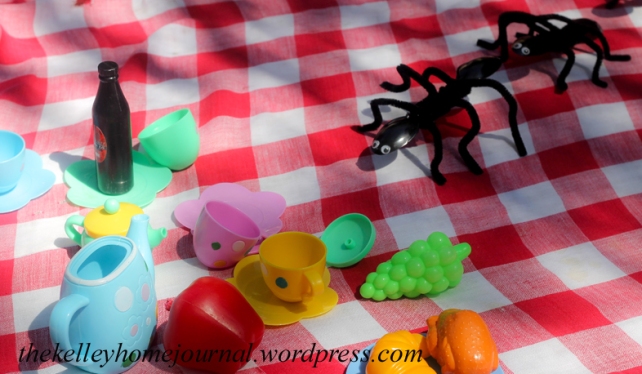
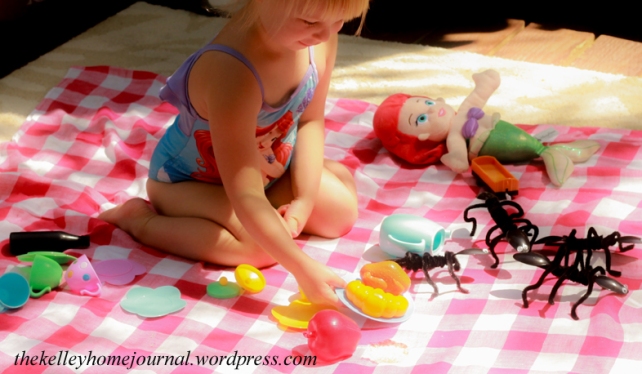
My mom put together a sweet and simple little craft for the kids as a surprise during our “bugs week.” Picnic with the Ants is just about the cutest thing I’ve ever seen! Who knew such an adorable little craft could be made from two spoons and a pipe cleaner?

Ants PicnicAnd to top off the cuteness, she made a little tableau with play food and a red checkered tablecloth! My daughter absolutely loved this…almost as much as her mama! 🙂

Ants Picnic

Ants Picnic

The instructions for this craft can be found at Danielle’s Place.

Fall Candle Jar On A Dollar

I love reading blogs dedicated to dollar store crafting. Some people are so clever and it’s great that they share their creativity with the masses. I’m not one to immediately see the potential in a Halloween skeleton or a Spongebob hook. So I thank these crafty individuals who inspire me to think creatively while perusing those aisles.

Fall is around the corner, at least I think it is. You never know in Southern California! I really wanted to do something to spice up my mantle, but for very little cost. I found this idea on Pinterest and loved the way it looked. I just happened to have all the supplies needed, except for some cute leaves. As I mentioned, it’s not exactly cool enough for Fall where I live and the trees aren’t even thinking about dropping beautiful orange and yellow leaves for me to collect. That’s where the Dollar Tree comes in handy! I picked up a bag of pretty little leaves and, using good ol’ Mod Podge, decoupaged them to a glass jar I had shoved into a cupboard. Although I slathered the stuff on the glass and the leaves, they were a bit stiff and didn’t want to completely adhere…I still like the effect, though. One detail I didn’t expect was the slightly frosted look the Mod Podge created on the glass after it dried. I put a candle in it and it glowed a beautiful soft orange hue. It took me about a day to make allowing for the drying time. I just worked on it when I had a few moments to spare for crafting. This is a fun and quick project that would also be great for kids too!

Toddler DVD Busy Wallet

Or A Method for Keeping Your DVDs From Being Destroyed by a Two Year Old!


This is pretty simple idea born of necessity.  I’m sure anyone out there with a curious toddler, like myself, has run into the problem of keeping DVDs from becoming a scratched and ruined mess. We are fortunate enough to have a portable DVD player for car trips and a special wallet full of my daughter’s favorite shows for said DVD player. The trouble arises when she wants to flip through the movies and play them herself. I’m all for her learning the valuable skill of operating a DVD player, but until Fisher Price comes out with a big, chunky, plastic DVD, I’m stuck with scratchy barely playable movies…which creates a whole new problem!

Anyway, I must credit my super smart Hubby for this one. He happens to be one of those guys who can fix anything on a computer and has the software collection to prove it! Of course, a lot of those programs and such go out of date pretty fast, leaving us with a box full of junky computer software discs. Well, those found a new life in the form of a toddler busy wallet!

He found an ugly, unused DVD wallet in the depths of his home office and filled it with all of those old discs. I’m thinking this would also be  a good use for those free DVDs you get in the mail or in game magazines. This has proven to be a fun and engaging activity for her. She enjoys emptying and refilling as much as her heart desires! Easy and cheap and uses stuff we already have around the house…I must love!


Make Your Own Magnets

This is an oldie but goodie project from my previous blog.  I’m happy to report that my daughter, now 2, still plays with this in the car almost every trip! The smaller magnets needed a little TLC after lots of use. Lesson learned…cut your images out in squares to avoid frayed edges! Also…use super glue!!! Enjoy!

I have been meaning to share this project for a while. I heard about a neat idea from my friend about a DIY travel size magnet board for car trips. It involved a trip to the dollar store, which immediately piqued my interest! The idea is to get a cookie sheet and a set of magnets and voila, you have instant fun for a little one on a car ride! I love this, and couldn’t wait to make it. I found a medium size cookie sheet pretty easy, but the magnets proved harder to find. I couldn’t seem to find a pack that weren’t too small, too big or too expensive. Well, why not make my own? Then I could customize them to all of my daughters favorite things! We are fortunate enough to have a laminate machine, but you could use self seal laminate pouches like these. I have found them in the office departments of many chain retail stores.

Using Google image search, I found various pictures of animals my daughter likes, and cropped them to a 2 inch square size, using Photoshop. I filled a standard 8×10 sheet with the images and printed them out in color. I think cut outs from magazines or books would also be a great alternative. Next, I laminated the sheet and cut out the images. I used a roll of self adhesive magnet, found at any craft or office supply. It can be cut to size, which is perfect for the individual pictures. I reinforced the magnets with rubber cement, to create more durability. These are for a busy one and half year old, after all!

The result? Instant hit! My daughter was really excited to discover she could move the magnets around and lift and place them over and over again. I keep it in the car, and it is always reached for first when we get in! I can highly recommend making your own custom magnets. They are a really inexpensive and easy to make craft that provide hours of enjoyment!

Supplies Needed:

Laminator and laminate pouches or self sealing pouches.

Roll of self adhesive magnets

Rubber cement or other strong craft glue

Scissors

Several color printed images